


Drum set quick start
In this video, we walk through unboxing your new kit, tips for setup, tuning, troubleshooting and more.

How to set up
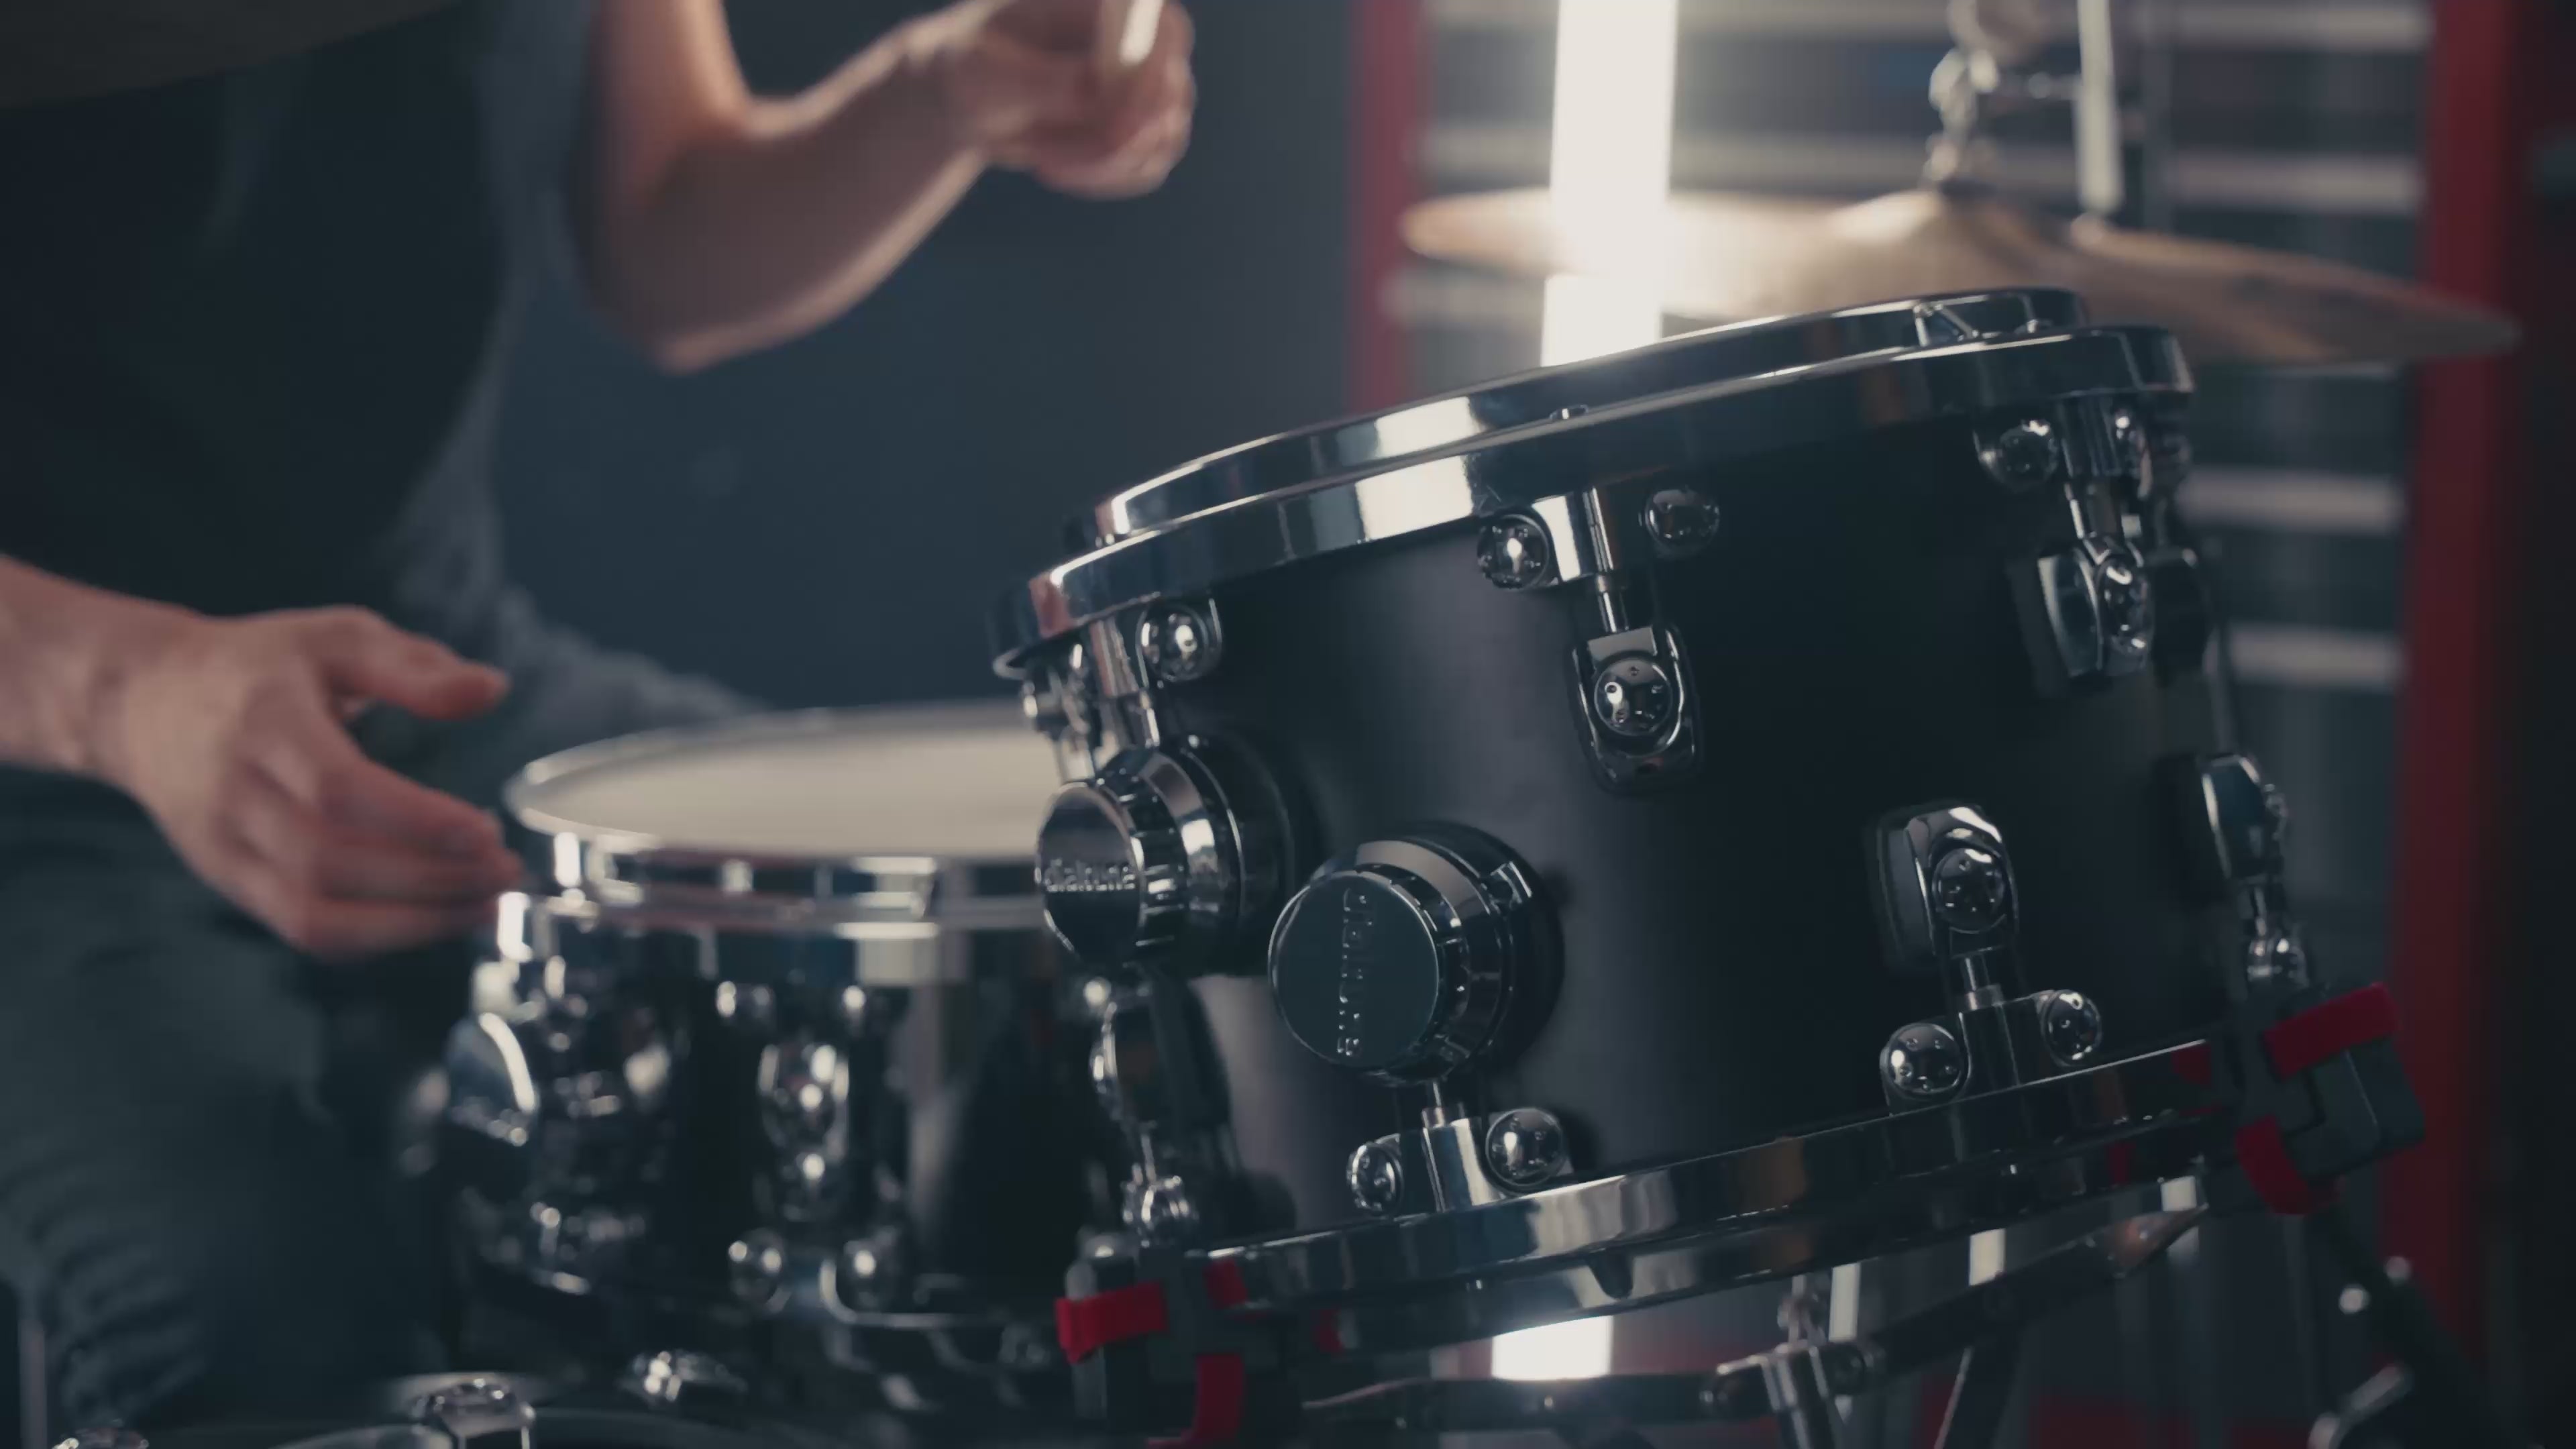
Setting up your Dialtune kit follows the same principles you may already know from our snare, but across every drum in your setup. Start with your kick drum, then toms, then snare. Each drum uses the same cable-tuning system, so once you've got the feel for one, the rest will come naturally.
Kick drum: Position the kick on its spurs and attach your pedal. The dials are designed to sit at the 3-o'clock position on your kit. The dial closest to your kick pedal controls the batter head, and the dial further from you controls the resonant head.
Toms: You have two options to mount your toms. 1) Attach them to a post mount using the universal clamp. Or 2) basket mount your toms. IMPORTANT TO NOTE, you can swap the position of the universal post mount with the badge. Check out our quickstart video for details.
How to tune your Dialtune kit
The fun of Dialtune's system is that tuning your entire kit works the same way — turn the dial, hear the change, find your sound fast. But here are a few tips for getting your kit sounding cohesive:
Start with the kick. Set your foundation first. Dial the batter head to your preferred attack and feel, then adjust the resonant head for tone and sustain.
Then smallest rack tom. Start with your smallest tom and work down. This helps you set intervals between drums so they sing together, not fight each other.
Fine-tune while you play. One of the biggest advantages of Dialtune is that you can make adjustments on the fly. Play a groove, listen, and tweak. No drum key. No stopping. Just turn and dial it in.

Replacing a cable on the kit
Need to replace a cable on your toms? Watch this video.
Similar to replacing a cable on a snare, make sure you have a 2.5mm Allen (hex) key handy. We also suggest having a set of needle nose pliers which makes removing the loop of cable in the gear easier.
Still need help? Send us a message!
How can we help?
Select your product below to jump straight to what you need.
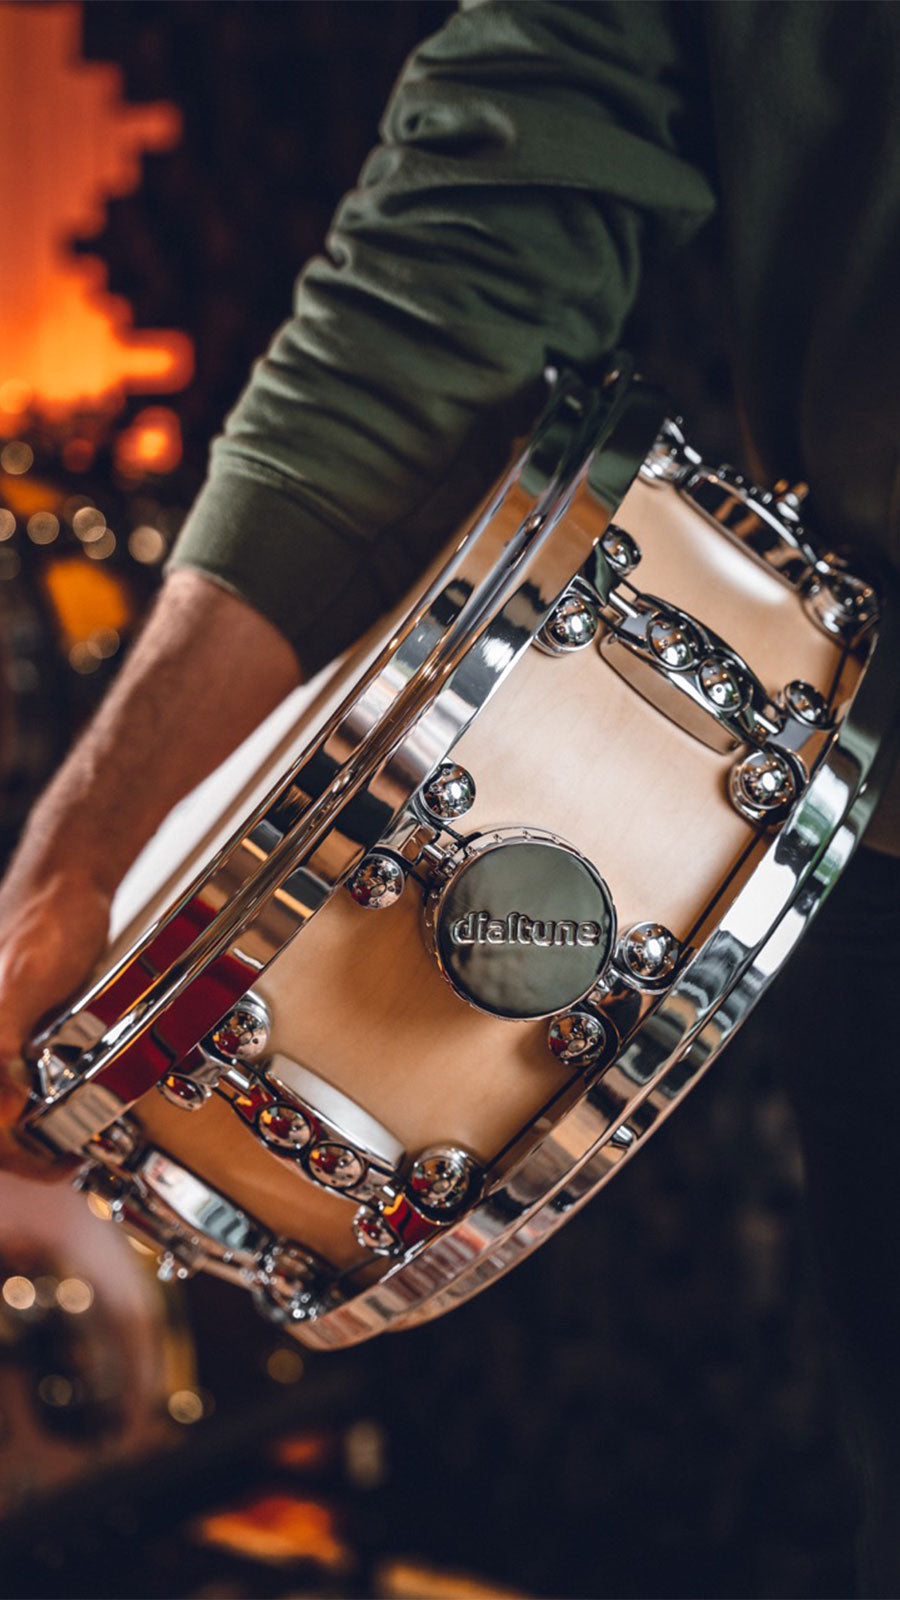
Set up my snare
Placement, tuning, and troubleshooting

Set up my kit
Kick, toms, and tuning the kit
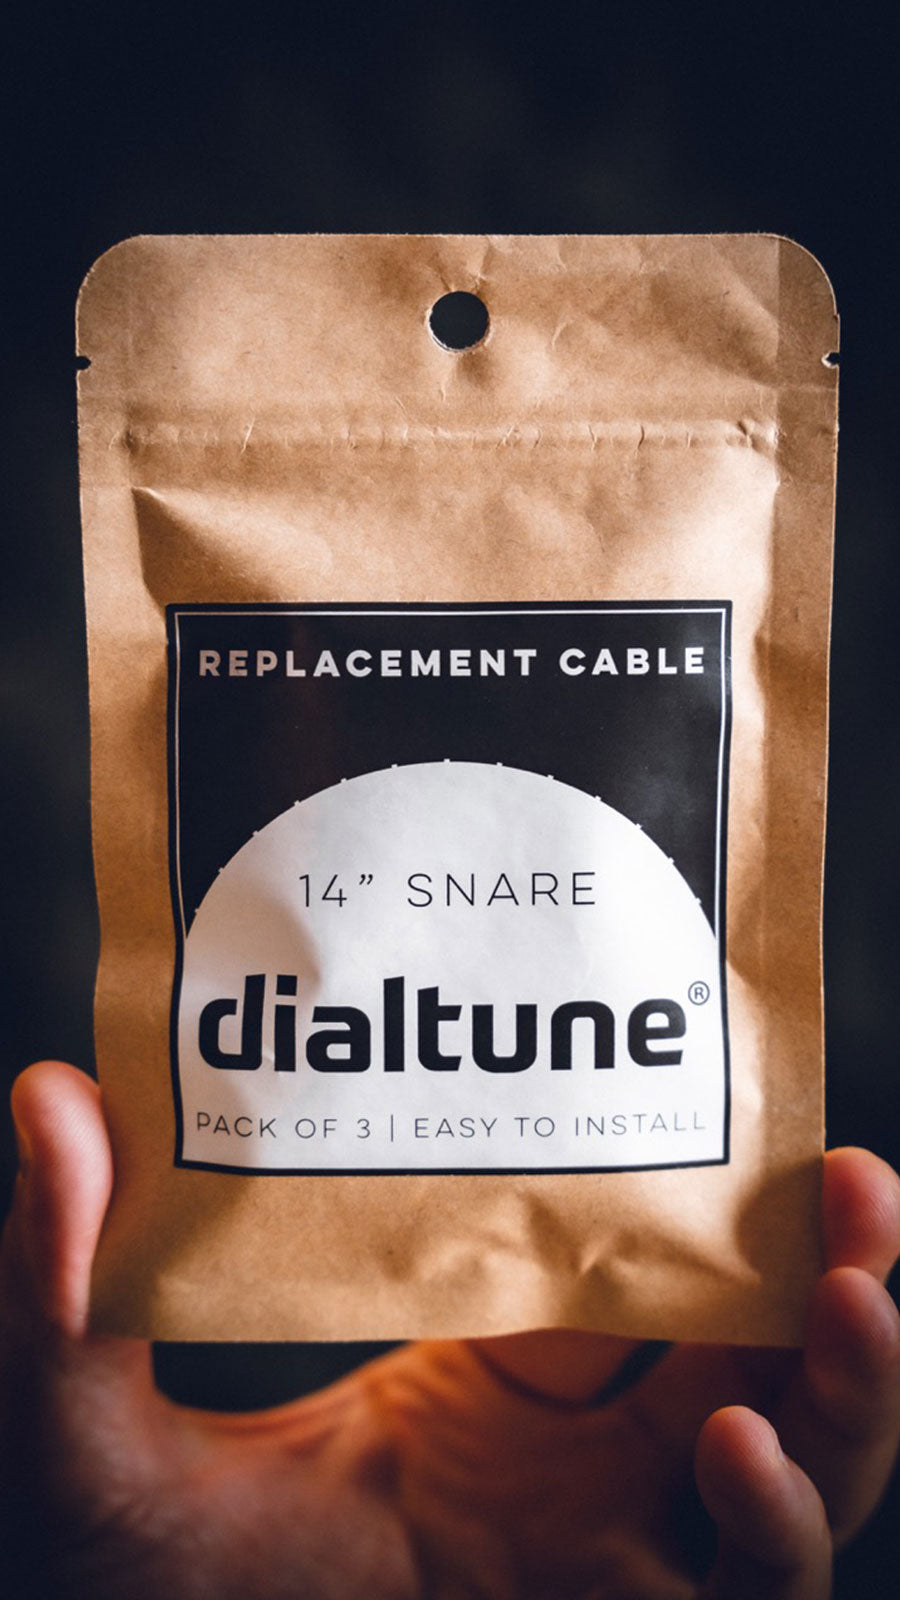
Change a cable
Step-by-step + which cable you need
FAQs
Please read our FAQs page to find out more.
Need help troubleshooting?
Below are some common troubleshooting tips and tricks
I'm struggling to take the hoop off
Try releasing more tension from the system by detuning the dial for the corresponding drum head (turning counter-clockwise).
If you're new to playing a Dialtune snare, it takes a little getting used to knowing how far to back off the tension before the rim easily disengages from the shoulder bolts
I can't get the hoop back on
Similar to how one might need to release more tension to disengage the hoop from the shoulder bolts, if you're struggling to get the head back on - first start by detuning the dial even more for the head you're trying to get the rim back on.
When the system is under tension, the cable pulls the support hoop down which makes it more difficult to re-engage the rim to the shoulder bolts. When you remove tension from the system, you help raise the height of the support hoop making it easier for the shoulder bolts to easily slot into the rim.
The head does not appear to be evenly in tune
If you notice that there is a significant discrepancy in tuning between lug points around the head of the drum, here are a couple things to double check:
- Check the cable at each pulley to make sure it is seated correctly and not caught up somewhere
- With most of the tension released from the system, pull down gently on the cable that spans between each lug point to make sure the support rim is traveling smoothly up and down (the tension needs to be really loose to do this).
- Next, check the drum head for any damage or inconsistency.
- Check the top hoop for any warping by placing it on a level surface (kitchen countertops work well). You should not be able to stick more than one credit card under any side of the hoop when it is sitting level.
- Make sure the bottom head is cranked up tight and the snare wires are properly adjusted.
- Make sure the snare stand basket is not contacting the snare side head
I'm having issues with a dial
Did the dial fall off? or are you struggling to take the dial off? Here are a couple quick tips. On the dial, at the end of the 'e' in Dialtune, there should be a small hole. This is where the set screw is that holds the dial to the post on the dial housing. Using a 2.5mm hex key / allen wrench (or a 2mm for Maker Series), turn the key counter-clockwise to loosen the set screw and clockwise to tighten the set screw. You'll want to make sure the hex key feels seated in the set screw before turning it.
If the dial on your drum fell off, it's likely because the set screw was loose. This is often an easy fix. Reattach the dial, aligning the crescent 'D" of the post to the D shaped hole on the interior of the dial. Then use the appropriate allen key (2.5mm, or 2mm for Maker Series) to turn clockwise and tighten the set screw against the post. We suggest using your other hand to hold the dial on the housing and ensure it's roughly level - so once tightened, and you begin to turn the dial it's not overly angled in any one direction.
Still having issues? Feel free to email us at hi@dialtunedrums.com and we'll jump on the phone with you to troubleshoot!